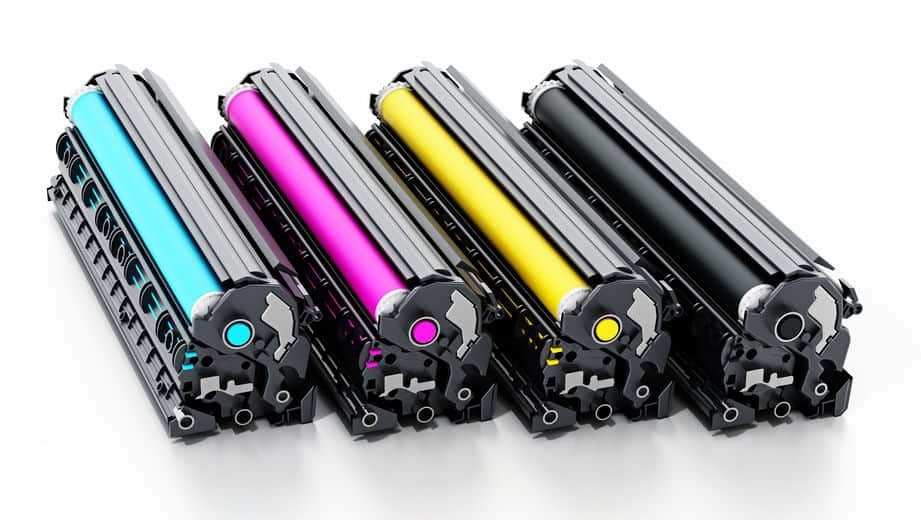
Replacing toner cartridges is necessary to continue using your laser printer. But, do you know how to safely install toner cartridges?
While there can be some variability depending on your printer model, the process of replacing these items is fairly consistent. Follow these steps to make the process simple and avoid damaging your printer.
Open the Panel or Top Cover and Remove the Drum Unit
Depending on the type of laser printer you have, you’ll need to open the front panel or lift the top cover. You should be able to easily locate the drum unit as well as a small handle to pop it loose. Note that if you’ve recently used the printer, the internal components may be extremely hot to the touch.
Allow the printer roughly 10 minutes to cool off before attempting to remove the unit. Another great tip is to remove the new toner cartridge and place it gently on a piece of paper. You’ll need this bag for the old toner cartridge to avoid accidentally spilling fluid.
Remove the Toner Cartridge and Place it Into the Bag
The drum unit will have something like a blue lever. Go ahead and press the lock until the cartridge pops loose and lift it out of the unit. Carefully handle the cartridge as there may still be powder remnants that can easily stain your hands or clothing. Place the cartridge quickly into the bag to prevent this from happening.
If you do happen to get ink on yourself, you’ll want to immediately tend to it with cold water. This will hopefully kick up some of the toner before it has a chance to settle into your hands or clothing.
Remove the Sealing Tape and Replace the Cartridge
New cartridges will come with some form of protective cover or sealing tape to keep it from leaking toner. Carefully remove the tape and firmly snap the new cartridge into the vacant space within the drum unit. You’ll hear it snap and see the lever kick back into its original place.
You should then clean the corona wire by sliding the other tab on the drum unit back and forth multiple times. This wire is responsible for drawing the toner from the drum and onto the paper. Failure to do this correctly could lead to problems with print quality.
Snap the Drum Unit Back in and Close the Printer
The drum unit should snap back into place exactly how you found it. If you’ve replaced the toner successfully, the printer will no longer yield a notice or error, and return to normal function. You may also need to restart the printer in order for it to recognize the new cartridge. Congratulations, you’ve successfully replaced your toner cartridge!
Other Notes About Toner Cartridges
Did you know you may be able to slightly extend the life of a toner cartridge? Toner is black powder, not ink, and can become lodged in sections of the cartridge. Essentially, you may not actually be quite out of toner. You can place the cartridge in a bag to avoid getting toner everywhere and shake it for about a minute. It may not work every time, but it’s worth pursuing as toner cartridges can be costly.


